Point of Sale
Point of Sale is the counter screen: search an item, take payment, print a receipt. Each sale still becomes a sales invoice and a payment in the books — POS is a faster way to create them, not a separate set of records.
Turning it on
Section titled “Turning it on”POS appears in the sidebar only once it is enabled.
- Settings → General → Features — switch on Enable Inventory, then Enable Point of Sale under Inventory Settings. To sell without tracking stock, use Enable POS Without Inventory instead.
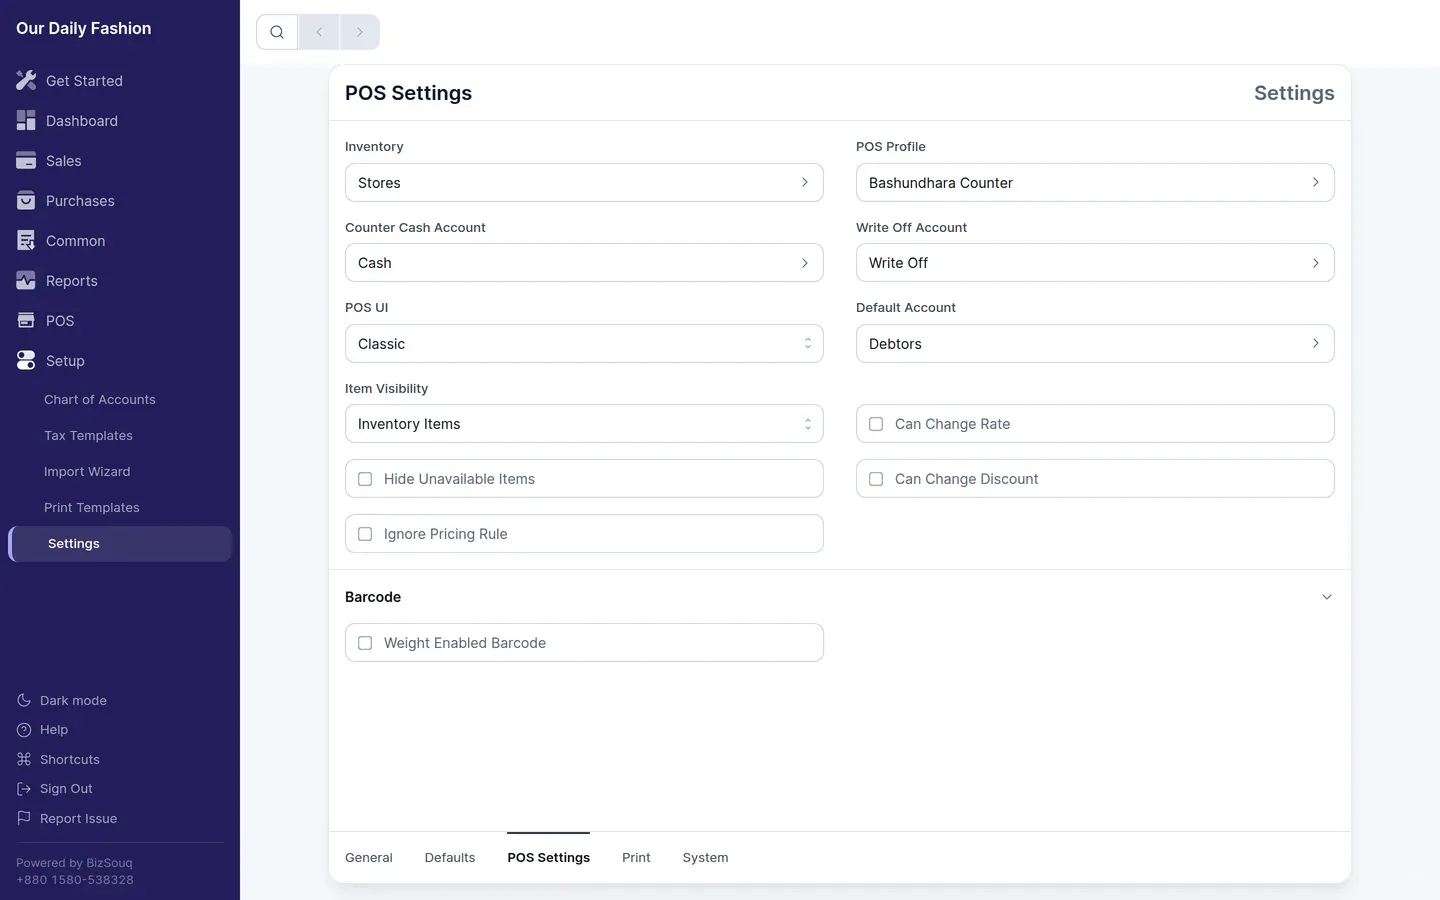
- POS Settings — set the Inventory location the counter sells from, the Counter Cash Account cash is taken into, a Write Off Account for rounding at the till, and the Default Account for receivables.
- POS Profile — the profile carries the POS Customer that walk-in sales are billed to, plus the button colours and permissions for the counter staff.
Opening /pos without these set is refused with a message naming the one that is missing.
Classic or Modern
Section titled “Classic or Modern”POS UI in POS Settings picks the layout. Classic puts the item grid on the left and the cart on the right, which suits a mouse and a wide screen. Modern is built for touch. Both create the same records.
Opening a shift
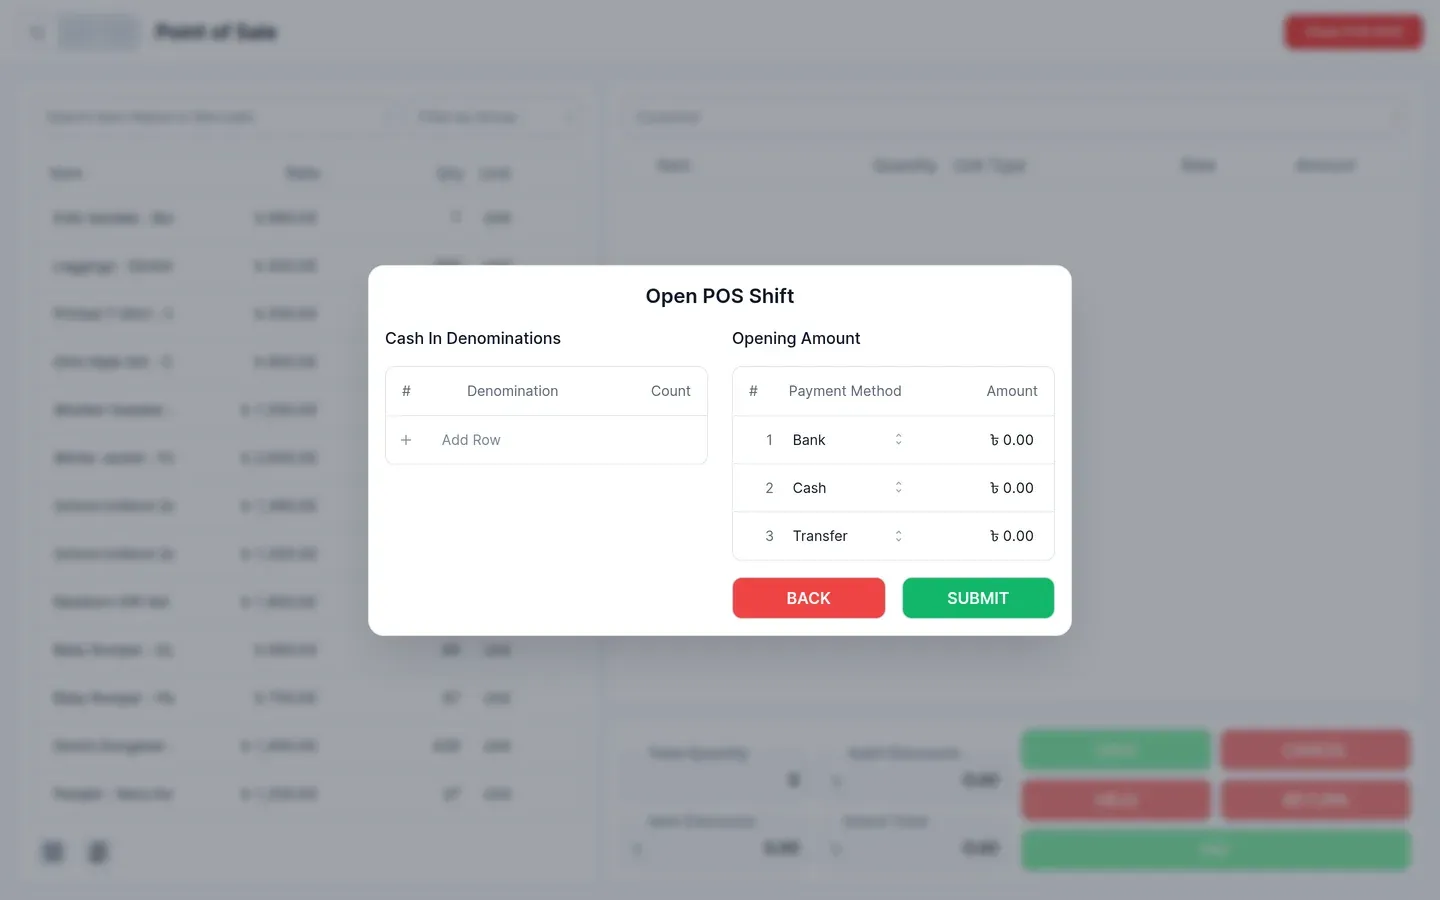
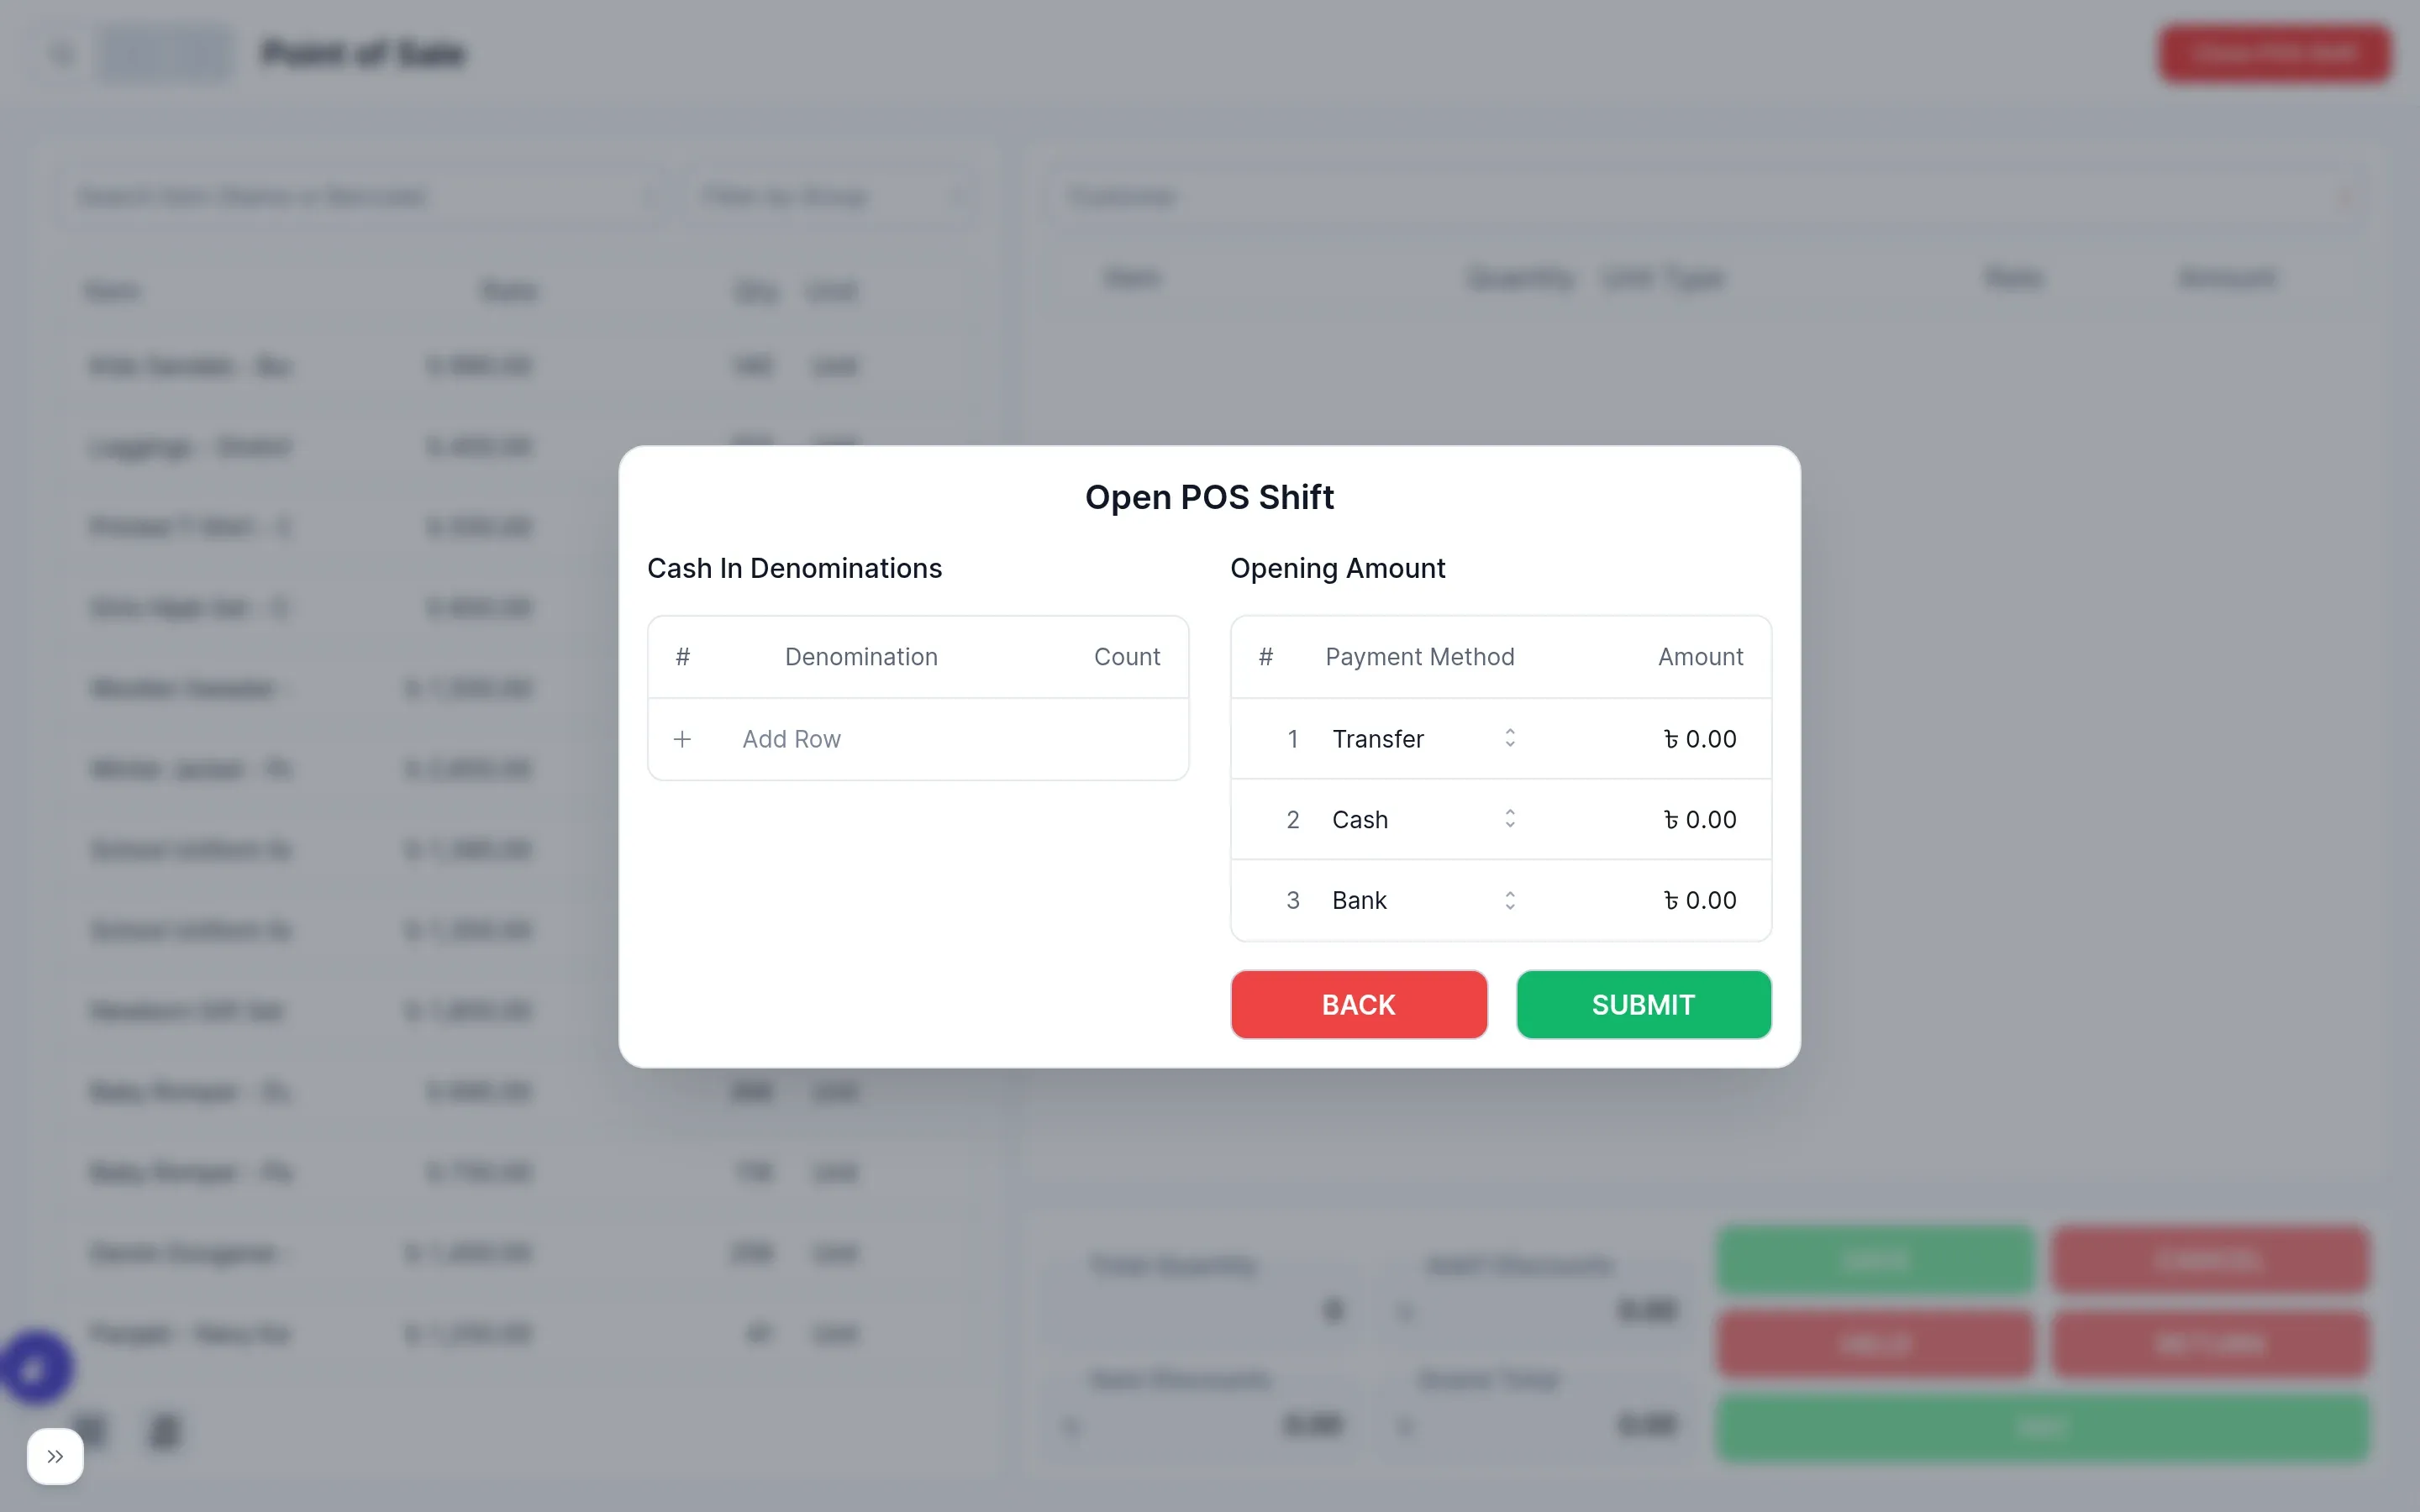
Section titled “Opening a shift”The counter does not accept a sale until a shift is open. Open POS Shift asks for the opening cash, broken down by note — enter how many of each denomination are in the drawer and the opening amount adds itself up. The shift stays open across page reloads.
Selling
Section titled “Selling”- Search by item name or barcode. With a barcode scanner, the item is added as it is scanned.
- Quantity — hold Q and type digits to set the quantity of the selected row.
- Batches and serial numbers — items tracked that way ask which batch or which serial numbers are leaving, and refuse a quantity the batch does not have.
- Discounts, coupons and price lists — available from the quick actions when the matching feature is enabled in settings. Loyalty points can be redeemed for a customer enrolled in a loyalty program.
- Hold an in-progress sale to serve the next customer, and reload it later from the saved invoice list.
Taking payment
Section titled “Taking payment”Pay opens the payment modal. Choose the method, and for a transfer record the reference and clearance date. Part payment is possible when Enable Partial Payment is on; the balance stays outstanding against the customer. Pay & Print does the same and sends the receipt to the printer using the POS print template.
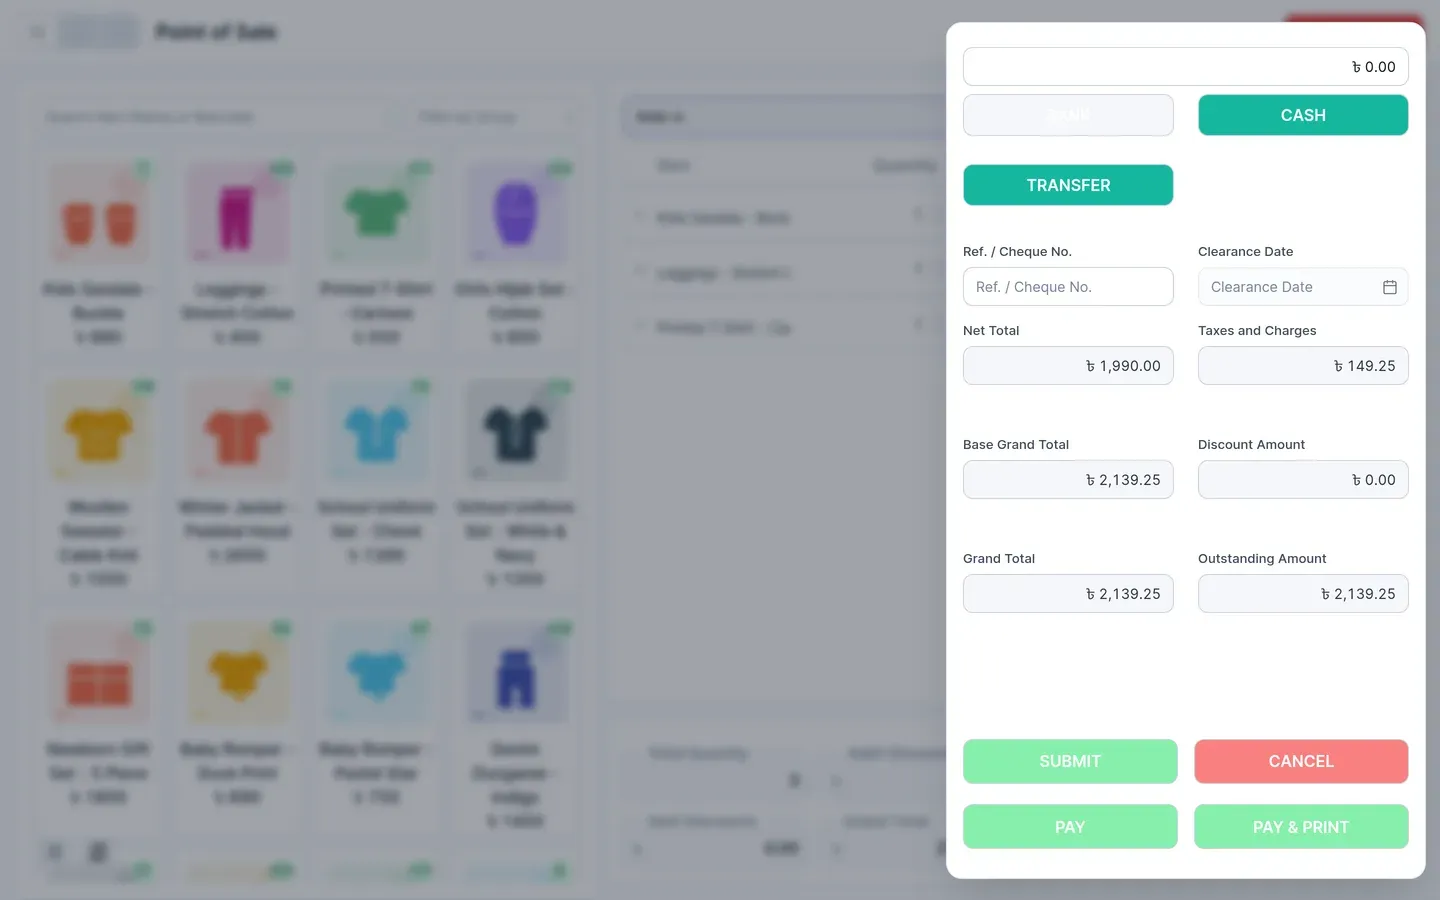
On submit the invoice posts, the payment posts, and the stock leaves the POS location.
Returns
Section titled “Returns”A return is raised against a submitted invoice from the returns action, which reverses the entries for the returned quantity and puts the stock back.
Closing the shift
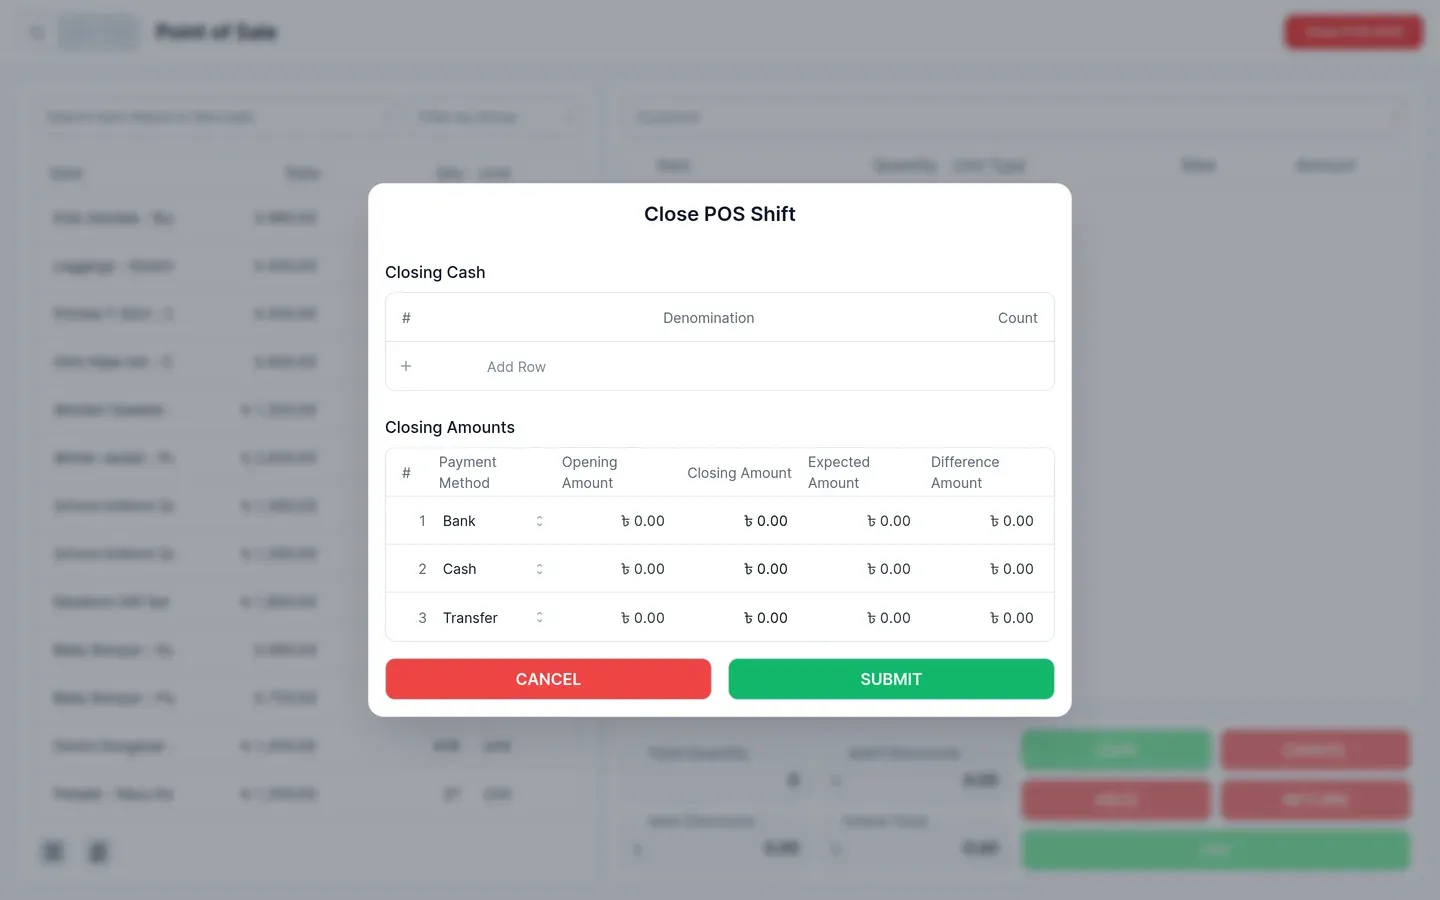
Section titled “Closing the shift”Close POS Shift asks for the closing cash, again by denomination. The expected amount is what the shift’s sales say should be in the drawer; the difference is shown against your count so a shortfall is visible at the till rather than at month end.
Working offline
Section titled “Working offline”If the connection drops mid-shift, the counter keeps working: sales still ring up and take payment as normal, using items, prices and customers already loaded on the device. Receipt printing resumes once a sale has synced for real, rather than while it’s still queued. A badge by Close POS Shift shows Offline and how many sales are waiting to sync.
Once the connection returns, queued sales sync automatically, in the order they were made. Close POS Shift stays disabled while any are still waiting to sync. If a queued sale can’t sync for real — the stock it needs sold out elsewhere in the meantime, say — it doesn’t block closing the shift, but it isn’t dropped either: the badge turns into a Sync issue you can click to retry or discard the sale.
Two things don’t work offline: pricing rules and coupons need a live lookup, so items sell at their plain price until the connection is back, and a customer typed in fresh (rather than picked from the list) can’t be looked up or created until then either.
This is unrelated to ERPNext sync (Settings → ERPNext Sync), which mirrors data to a separate ERPNext instance and needs a connection throughout — that’s a sync between two servers, not between this device and the server while offline.
What it leaves behind
Section titled “What it leaves behind”Nothing about POS is separate from the rest of the books. Every counter sale is in Sales → Sales Invoices, its receipt is in Payments, and the stock movement is in the stock ledger — the same records you would get by entering the sale by hand.